
🍡
最新技术栈
基于Vue3、Vite、TypeScript、Naive UI等最新技术栈开发
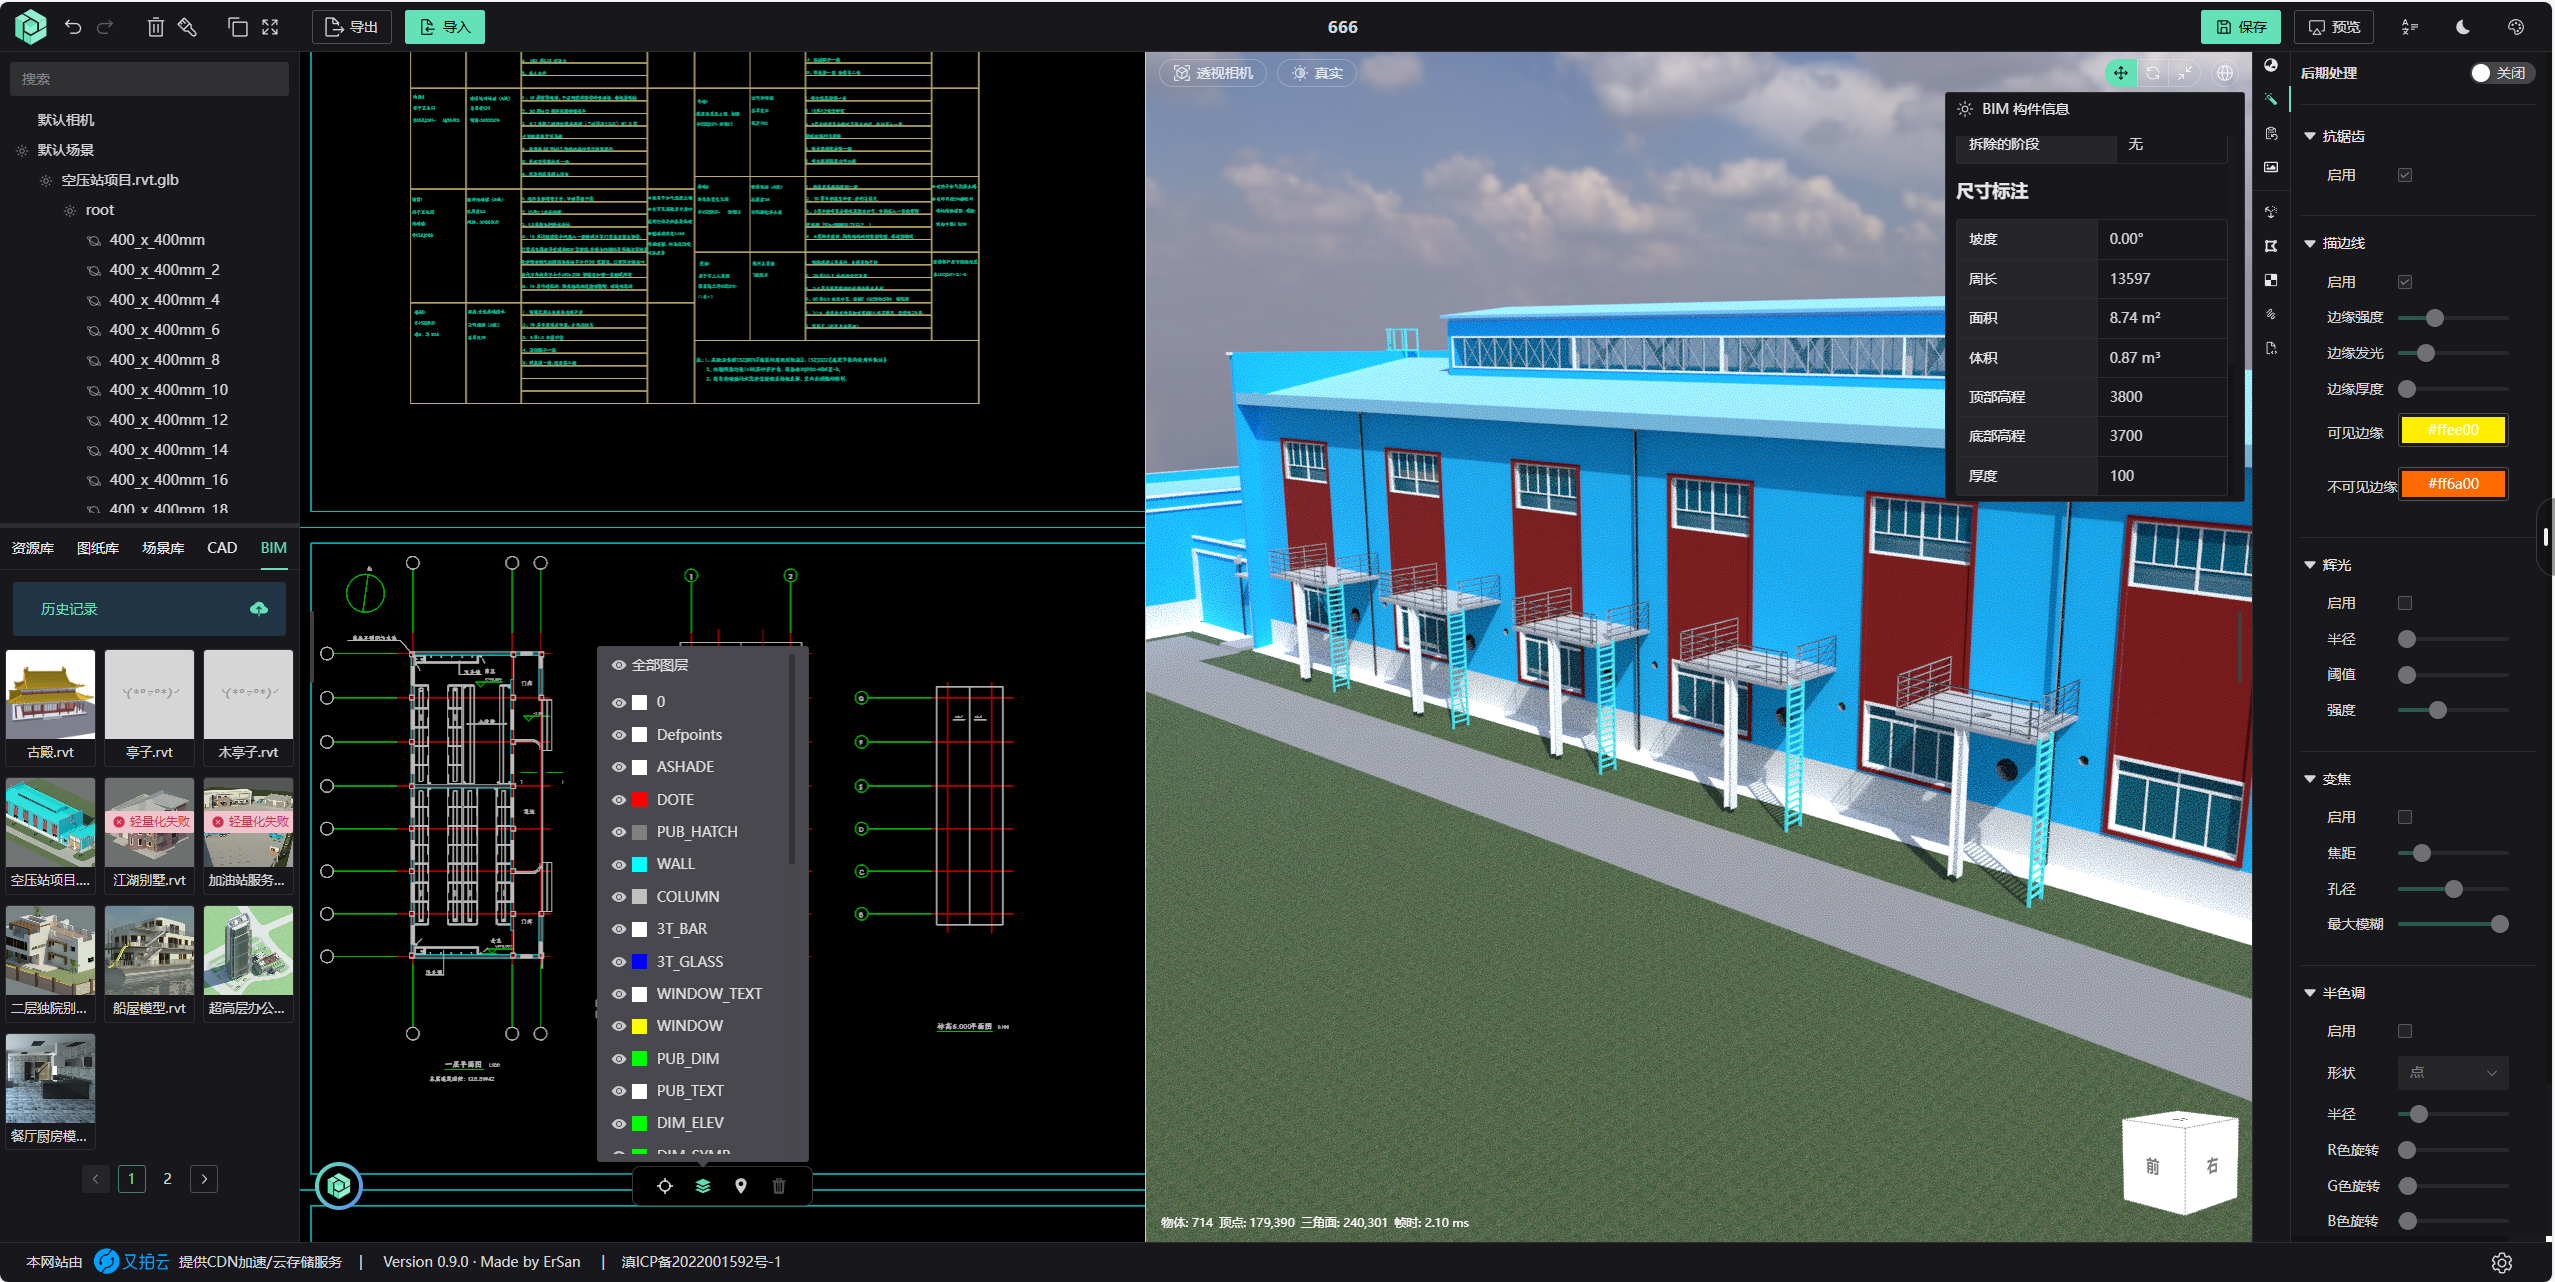
CAD? BIM? 亦或更多?
支持 .dwg,.dxf 图纸解析预览
支持 .rvt,.ifc,.rva 模型轻量化解析
PDMS、VTU
    git clone https://github.com/mlt131220/Astral3D.git

    cd Astral3D
    pnpm install
    pnpm run sdk:build
pnpm run editor:devQQ 交流群: 1040320579

您在使用过程中遇到任何问题,欢迎通过 issue 反馈。也欢迎加入我们的 QQ 交流群一起讨论。
🔥 4核8G 200兆服务器,仅需49元/月,点击这里购买
专属优惠码:Astral3D